

The Importance of Trailer Vent Cover Replacement
Trailer vent covers may seem like a small and insignificant part of your RV, but they play a crucial role in maintaining proper ventilation and air circulation inside your vehicle. Over time, these covers can wear out due to exposure to the elements, leading to potential issues such as leaks, poor air quality, and even damage to your trailer’s interior.
Why Replace Your Trailer Vent Cover?
Replacing your trailer vent cover is essential for several reasons. Firstly, a damaged or worn-out cover can allow water to seep into your RV during rainy weather, causing mold and mildew growth. Proper ventilation is also crucial for regulating temperature inside the trailer, especially during hot summer days.
Additionally, a cracked or broken vent cover can compromise the security of your RV. An intact cover helps keep out pests and insects that may try to enter through the vent openings. By replacing a damaged cover promptly, you can ensure that your trailer remains secure and protected from unwanted intruders.
Choosing the Right Replacement Cover
When selecting a replacement vent cover for your trailer, it’s essential to consider factors such as size, material, and compatibility with your existing ventilation system. Measure the dimensions of your current cover accurately to ensure a proper fit for the replacement. You should also choose a durable material that can withstand harsh weather conditions and UV exposure.
Many modern vent covers come with additional features such as built-in bug screens or adjustable airflow settings. These features can enhance the functionality of your ventilation system and provide added convenience during your travels.
Installation Tips
Replacing a trailer vent cover is typically a straightforward process that can be done by most RV owners with basic tools. Start by removing the old cover carefully, taking note of any screws or fasteners that need to be detached. Clean the area around the vent opening before installing the new cover to ensure a secure seal.
Follow the manufacturer’s instructions for attaching the replacement cover securely in place. Test the functionality of the new cover by opening and closing it several times to ensure smooth operation. Finally, inspect the seal around the edges of the cover to verify that it provides adequate protection against water infiltration.
Conclusion
In conclusion, replacing your trailer vent cover is an essential maintenance task that should not be overlooked. By investing in a high-quality replacement cover and ensuring proper installation, you can protect your RV from potential damage and enjoy improved airflow and comfort during your travels.
5 Essential Tips for Replacing Your Trailer Vent Cover
- Ensure the trailer is parked on a level surface before starting the replacement.
- Use the appropriate tools, such as screwdrivers or drills, to remove the old vent cover.
- Clean any dirt or debris around the vent area before installing the new cover.
- Check for proper fit and alignment of the new vent cover before securing it in place.
- Test the functionality of the new vent cover by opening and closing it to ensure smooth operation.
Ensure the trailer is parked on a level surface before starting the replacement.
Before beginning the replacement of your trailer vent cover, it is crucial to ensure that the trailer is parked on a level surface. Parking on a level surface helps maintain stability and safety during the replacement process, making it easier to work on the vent cover without any unexpected movements or shifts in the trailer’s position. Additionally, working on a level surface ensures that the new vent cover can be installed correctly and securely, providing a proper seal to prevent water leakage and maintain optimal ventilation inside the trailer.
Use the appropriate tools, such as screwdrivers or drills, to remove the old vent cover.
To ensure a smooth and efficient trailer vent cover replacement process, it is crucial to use the appropriate tools, such as screwdrivers or drills, to remove the old vent cover. Using the right tools not only makes the task easier but also helps prevent damage to the surrounding area and ensures a secure installation of the new cover. By carefully selecting the correct tools for the job, you can safely disassemble the old cover and prepare the vent opening for a seamless replacement, ultimately enhancing the functionality and longevity of your RV’s ventilation system.
Clean any dirt or debris around the vent area before installing the new cover.
To ensure a proper and secure installation of the new trailer vent cover, it is crucial to clean any dirt or debris accumulated around the vent area beforehand. Clearing away dirt and debris not only helps create a clean surface for attachment but also prevents potential obstructions that could affect the functionality of the cover. By taking the time to clean the area thoroughly, you can ensure a seamless replacement process and maintain optimal ventilation within your RV.
Check for proper fit and alignment of the new vent cover before securing it in place.
Before securing the new vent cover in place, it is crucial to check for proper fit and alignment. Ensuring that the replacement cover fits correctly over the vent opening is essential to prevent any gaps that could compromise the seal and allow water or pests to enter the RV. Take the time to align the cover carefully with the vent opening before fastening it down securely. This simple step can help you avoid potential issues and ensure that your trailer’s ventilation system functions optimally while keeping your vehicle safe and secure during your travels.
Test the functionality of the new vent cover by opening and closing it to ensure smooth operation.
To ensure the effectiveness of your new trailer vent cover replacement, it is crucial to test its functionality by opening and closing it. This simple yet essential step allows you to verify that the cover operates smoothly and without any obstructions. By performing this test, you can ensure that your ventilation system will function properly, providing adequate airflow and ventilation inside your RV.
Related Posts
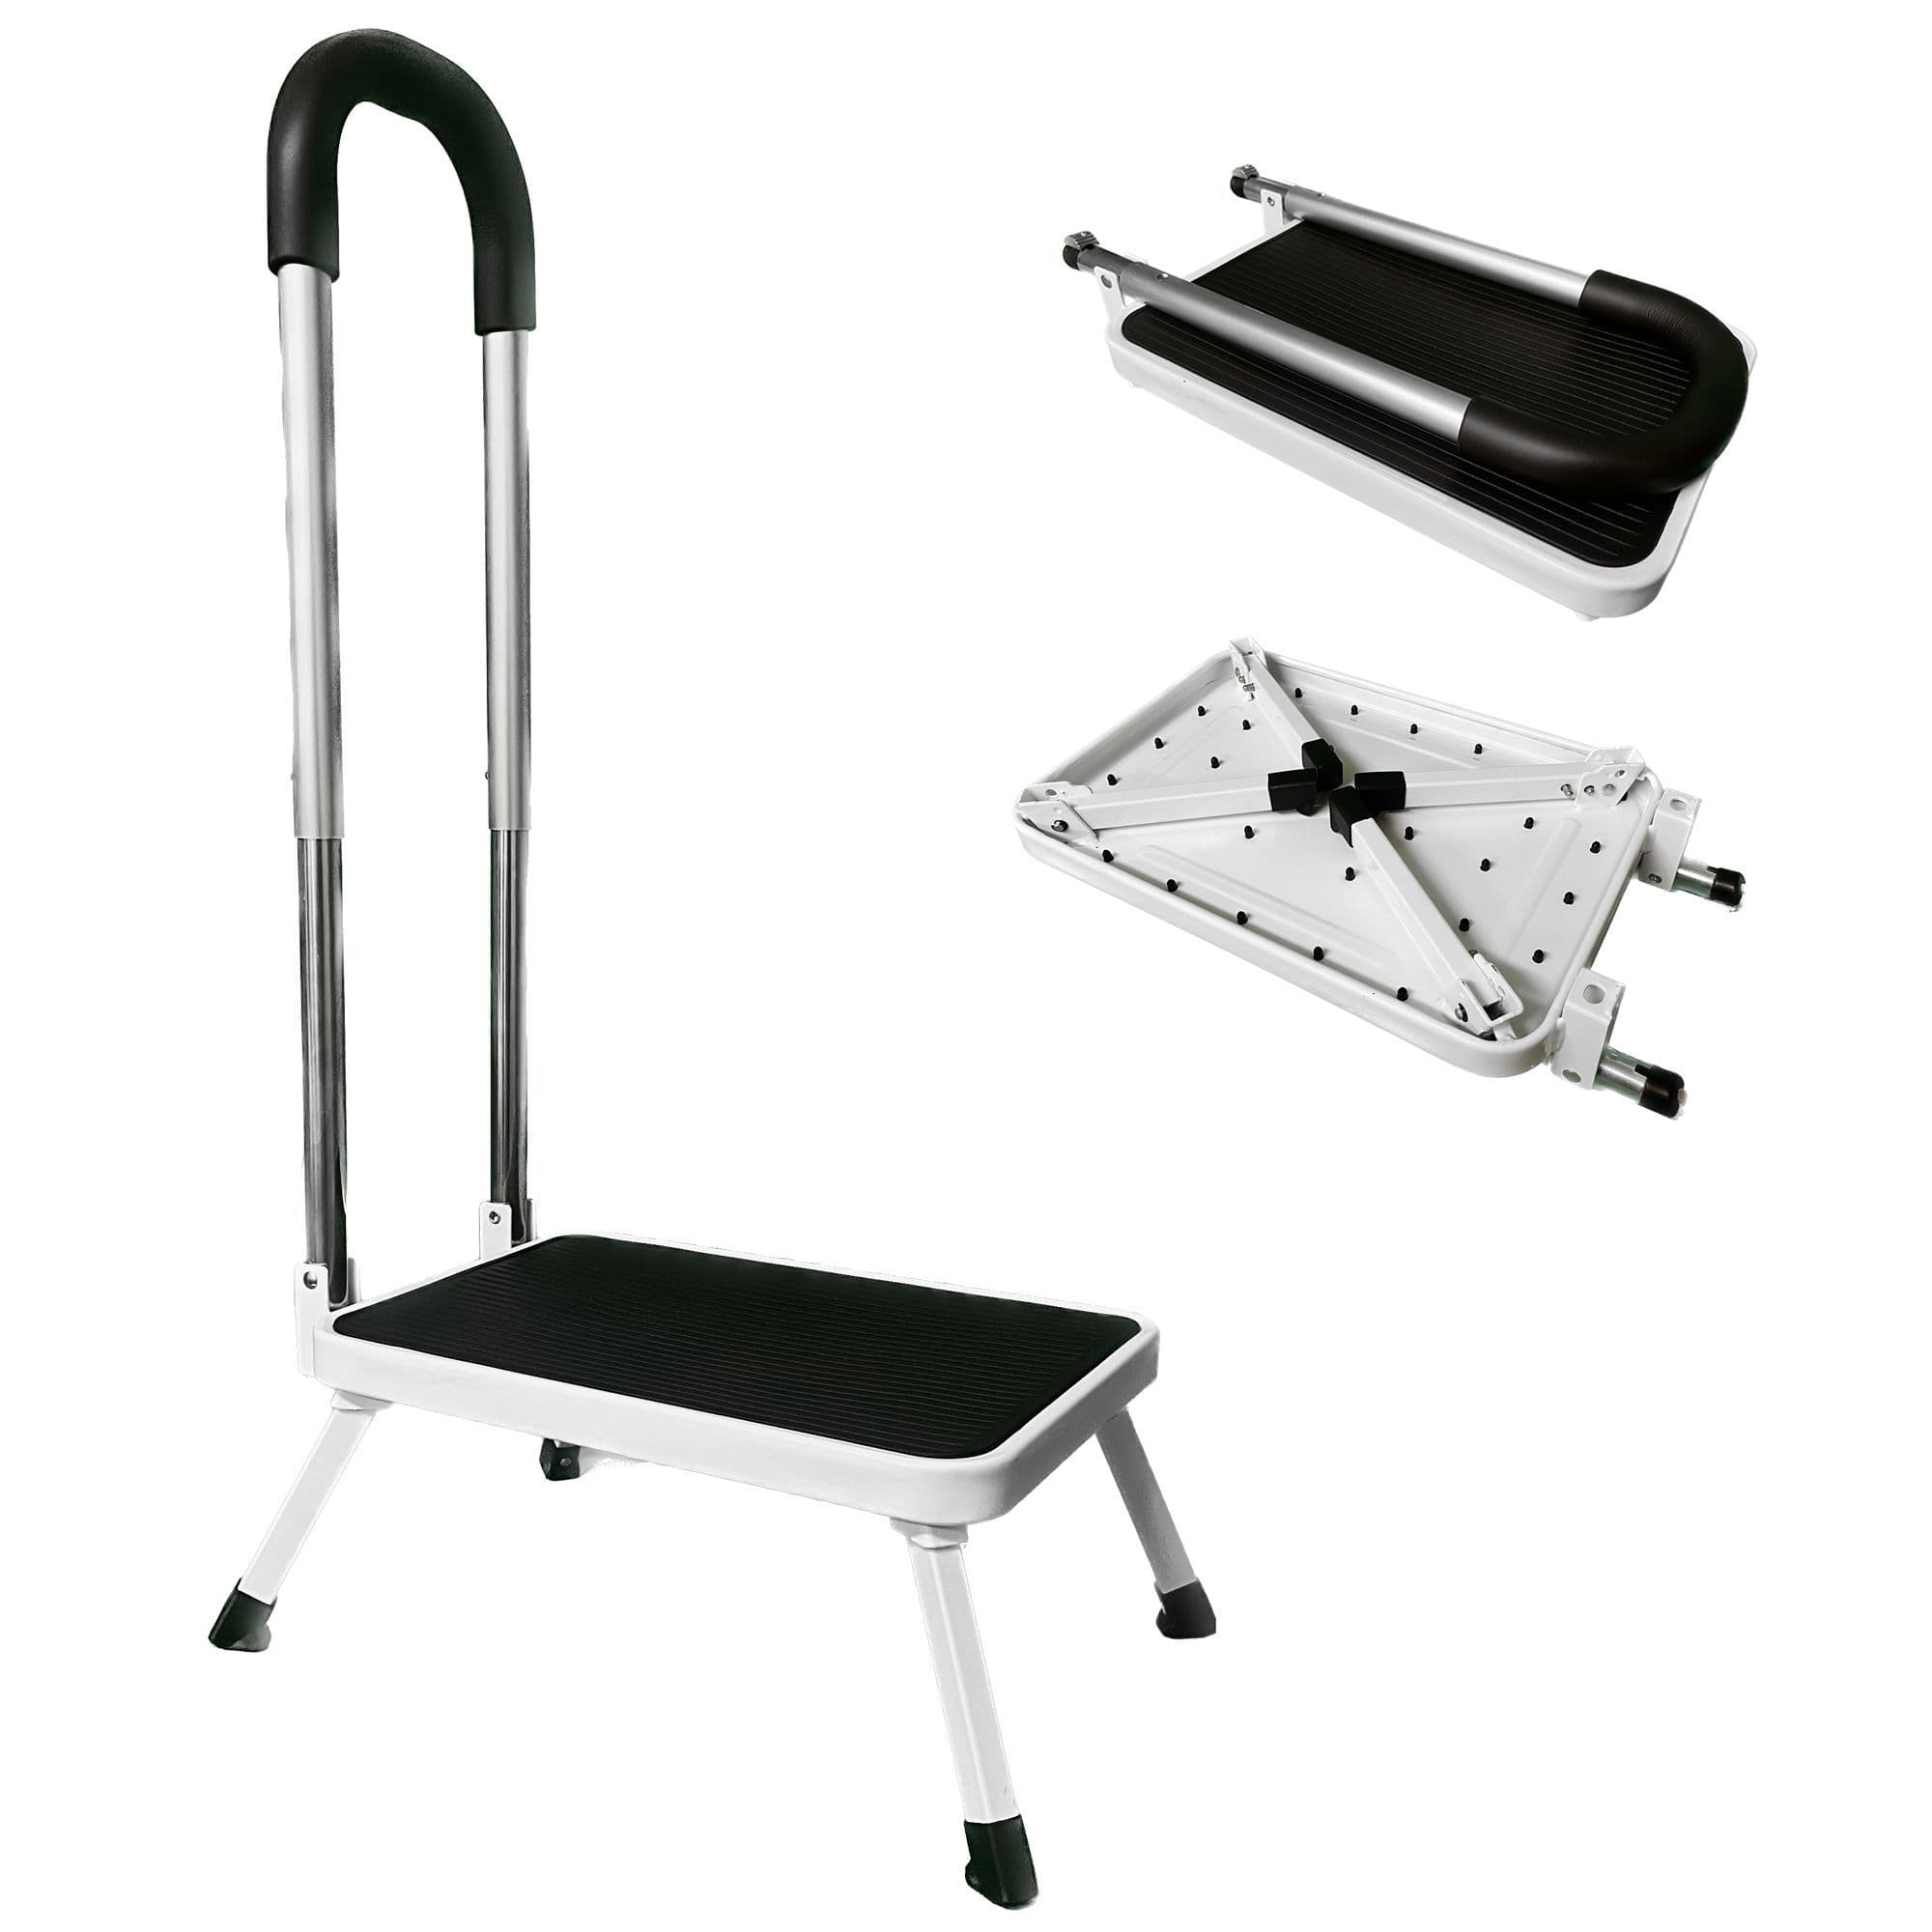
Maximizing Convenience: The Versatility of Folding Caravan Steps
The Convenience of Folding Caravan Steps The Convenience of Folding…
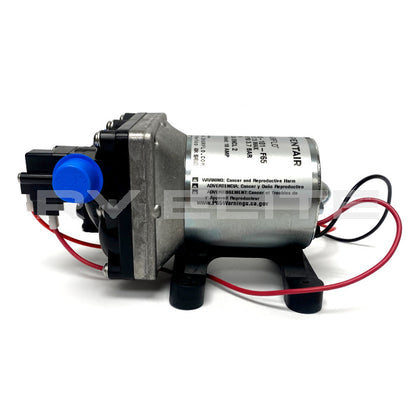
Exploring the Essential Shurflo RV Water Pump Parts for Your Camper
Exploring Shurflo RV Water Pump Parts Exploring Shurflo RV Water…
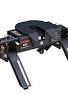
Must-Have 5th Wheel Camper Accessories for Your Next Adventure
Exploring Essential 5th Wheel Camper Accessories Exploring Essential 5th Wheel…