
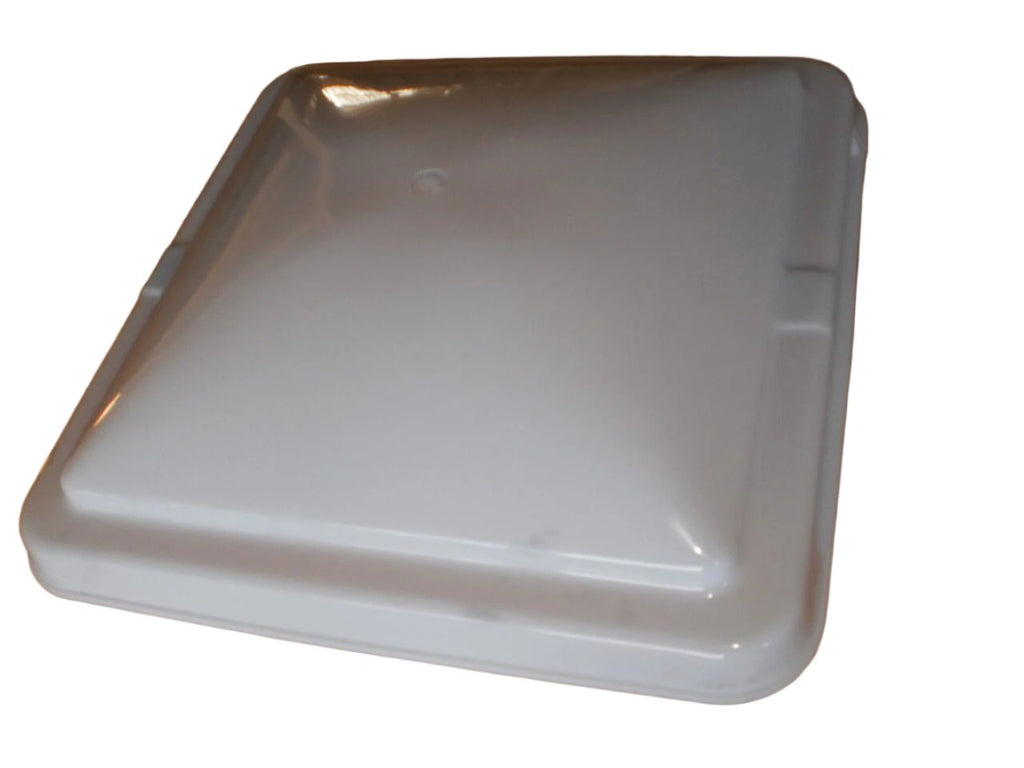
The Importance of Trailer Roof Vent Cover Replacement
Trailer roof vent covers play a crucial role in maintaining proper ventilation and air circulation inside your RV or trailer. Over time, these covers may wear out due to exposure to the elements or general wear and tear. When it comes to ensuring the comfort and safety of your camping experience, replacing a damaged or old roof vent cover is essential.
Benefits of Replacing Your Trailer Roof Vent Cover:
- Improved Airflow: A new roof vent cover allows for better airflow inside your trailer, helping to regulate temperature and reduce stuffiness.
- Prevention of Water Damage: A cracked or broken vent cover can allow water to seep into your trailer, leading to potential water damage and mold growth.
- Enhanced Energy Efficiency: Proper ventilation can help maintain a comfortable interior temperature without overworking your RV’s cooling system.
- Increased Comfort: Fresh air circulation is essential for a pleasant camping experience, especially during hot summer days or when cooking inside the trailer.
Steps for Replacing Your Trailer Roof Vent Cover:
- Remove the Old Cover: Unscrew the existing roof vent cover and carefully remove it from the opening.
- Clean the Area: Wipe down any debris or dirt around the vent opening to ensure a clean surface for installation.
- Select the New Cover: Choose a replacement roof vent cover that matches the size and style of your existing vent.
- Install the New Cover: Position the new cover over the vent opening and secure it in place using screws or clips provided with the replacement cover.
- Test for Proper Functionality: Open and close the new roof vent cover to ensure it operates smoothly and allows for adequate airflow.
By following these steps, you can easily replace your trailer roof vent cover and enjoy improved ventilation and comfort during your next camping trip. Remember that proper maintenance of your RV’s components is key to ensuring a safe and enjoyable outdoor experience.
9 Essential Tips for Replacing Your Trailer Roof Vent Cover
- Ensure the trailer is parked on a level surface for safety.
- Use appropriate tools such as screwdrivers and sealant for the replacement.
- Inspect the new vent cover to ensure it matches the size and style of the old one.
- Clean the area around the vent thoroughly before installing the new cover.
- Follow manufacturer instructions carefully during installation for proper fit.
- Check for any leaks or gaps after installation to prevent water damage.
- Consider adding extra sealant around the edges of the cover for added protection.
- Test the functionality of the vent cover to ensure it opens and closes properly.
- Regularly inspect and maintain the vent cover to prolong its lifespan.
Ensure the trailer is parked on a level surface for safety.
To ensure a safe and successful trailer roof vent cover replacement, it is crucial to park the trailer on a level surface. Parking on a level surface helps maintain stability and prevents the trailer from shifting or tipping during the replacement process. This simple precaution not only ensures your safety while working on the roof vent cover but also makes the task easier and more efficient. By taking the time to park your trailer on a level surface, you can proceed with the replacement with peace of mind, knowing that you have created a secure working environment for yourself.
Use appropriate tools such as screwdrivers and sealant for the replacement.
When replacing your trailer roof vent cover, it is crucial to use the appropriate tools such as screwdrivers and sealant for a successful installation. Using the right tools not only ensures that the replacement process is efficient but also helps maintain the integrity of your RV’s ventilation system. A screwdriver will allow you to securely fasten the new cover in place, while sealant can help prevent any potential leaks or drafts. By utilizing these tools correctly, you can ensure a proper and long-lasting replacement that enhances the functionality of your trailer’s roof vent system.
Inspect the new vent cover to ensure it matches the size and style of the old one.
When replacing your trailer roof vent cover, it is crucial to inspect the new cover carefully to ensure it matches the size and style of the old one. A proper fit is essential for effective ventilation and protection against the elements. By verifying that the new vent cover aligns with your trailer’s specifications, you can guarantee a seamless installation process and optimal performance once in place. Taking the time to compare the new cover to the old one will help you avoid any compatibility issues and ensure that your RV remains well-equipped for your next outdoor adventure.
Clean the area around the vent thoroughly before installing the new cover.
Before installing a new trailer roof vent cover, it is crucial to clean the area around the vent thoroughly. Removing any debris or dirt ensures a clean surface for the installation and helps prevent potential issues with the new cover’s fit and functionality. By taking the time to clean the area properly, you can ensure a smooth and secure installation process, allowing your new vent cover to work effectively and provide optimal ventilation inside your trailer.
Follow manufacturer instructions carefully during installation for proper fit.
It is essential to follow the manufacturer’s instructions carefully during the installation of a new trailer roof vent cover to ensure a proper fit. By adhering to the guidelines provided, you can guarantee that the replacement cover aligns correctly with your RV’s existing vent opening, preventing any potential leaks or issues. Proper installation not only ensures optimal functionality but also enhances the overall effectiveness of the ventilation system in your trailer, contributing to a more comfortable and enjoyable camping experience.
Check for any leaks or gaps after installation to prevent water damage.
After replacing your trailer roof vent cover, it is crucial to check for any leaks or gaps around the newly installed cover. Ensuring a proper seal is essential to prevent water from seeping into your RV, which can lead to water damage and potential mold growth. By carefully inspecting for any areas of concern and addressing them promptly, you can maintain the integrity of your trailer’s interior and enjoy a worry-free camping experience.
Consider adding extra sealant around the edges of the cover for added protection.
When replacing your trailer roof vent cover, a useful tip to enhance protection is to consider adding extra sealant around the edges of the cover. By applying additional sealant, you can create a tighter seal and further safeguard your RV against water intrusion and potential leaks. This simple step can help prolong the lifespan of your roof vent cover and ensure that your camping adventures remain comfortable and worry-free.
Test the functionality of the vent cover to ensure it opens and closes properly.
Testing the functionality of the trailer roof vent cover is a crucial step in the replacement process. By ensuring that the cover opens and closes properly, you guarantee adequate airflow and ventilation inside your RV or trailer. This simple yet essential test helps maintain a comfortable interior temperature and prevents any potential issues during your camping adventures. Checking the smooth operation of the vent cover ensures that you can rely on it for optimal air circulation, enhancing your overall camping experience.
Regularly inspect and maintain the vent cover to prolong its lifespan.
Regularly inspecting and maintaining your trailer roof vent cover is a crucial tip to prolong its lifespan and ensure optimal performance. By conducting routine checks for any signs of wear, cracks, or damage, you can address issues promptly before they escalate. Cleaning the vent cover and lubricating moving parts as needed can also help prevent premature wear and extend its durability. Taking the time to care for your trailer roof vent cover will not only enhance its longevity but also contribute to a more comfortable and enjoyable camping experience.
Related Posts

Mastering the Art of Repair: Essential Tips and Techniques
The Importance of Repair and Maintenance The Importance of Repair…
Enhancing Your RV’s Outdoor Space with a Porch Light Lens
The Importance of RV Porch Light Lens When it comes…
Discover Quality and Savings: Used Super C Motorhomes for Sale Now Available
Used Super C Motorhomes for Sale Exploring the World in…