
The Ultimate Guide to RV Awning Bracket Replacement
RV awnings are a valuable feature that provides shade and protection from the elements while you enjoy the great outdoors. However, over time, the brackets that hold your RV awning in place may wear out or become damaged, compromising its effectiveness. In such cases, it’s essential to replace the awning brackets promptly to ensure your awning functions properly and remains secure.
Signs That Your RV Awning Brackets Need Replacement
There are several signs that indicate it’s time to replace your RV awning brackets:
- Visible signs of rust or corrosion on the brackets
- Cracks or breaks in the bracket material
- Difficulty extending or retracting the awning smoothly
- Sagging or uneven positioning of the awning
Steps for RV Awning Bracket Replacement
Replacing your RV awning brackets is a straightforward process that can be done with basic tools and some mechanical know-how. Here’s a step-by-step guide to help you through the replacement process:
- Start by retracting your awning completely to ensure it is secure and stable.
- Locate and remove the screws or bolts that secure the damaged bracket to the RV body.
- Carefully detach the old bracket from the RV, taking note of its position for proper alignment during installation.
- Position the new bracket in place and secure it with screws or bolts, ensuring a tight fit.
- Test the functionality of your awning by extending and retracting it to verify that the new brackets are installed correctly.
Tips for Successful Awning Bracket Replacement
To ensure a successful replacement of your RV awning brackets, consider these tips:
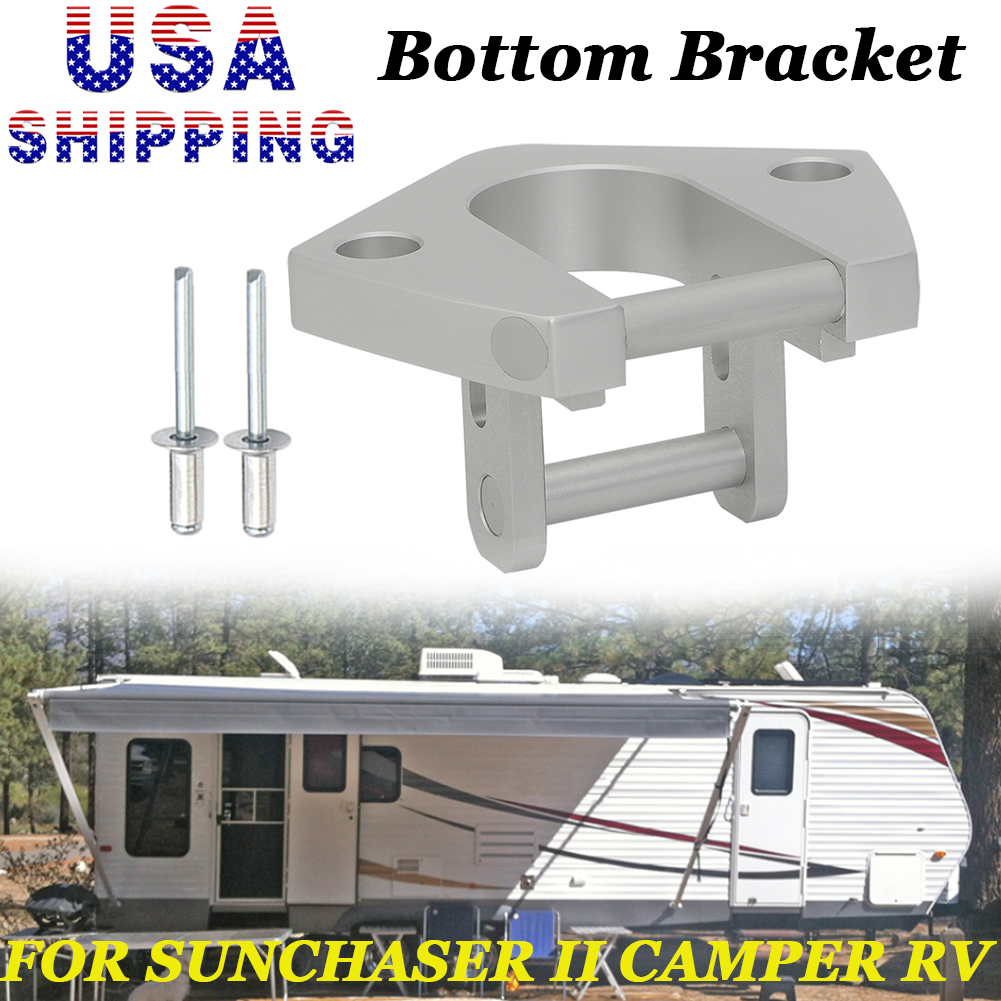
- Choose high-quality replacement brackets designed specifically for your RV model to ensure compatibility and durability.
- Inspect other components of your awning system, such as fabric and arms, for any signs of wear or damage that may require attention.
- If you’re unsure about replacing the brackets yourself, seek assistance from a professional RV service provider to ensure proper installation.
Enjoy Your Upgraded Awning System
By following these guidelines for RV awning bracket replacement, you can maintain a functional and reliable awning system on your RV. Regular inspection and maintenance of your awning components will help extend their lifespan and enhance your outdoor camping experience. Now, go ahead and enjoy more shade and comfort under your newly replaced awning!
9 Essential Tips for Replacing RV Awning Brackets Safely and Efficiently
- Ensure you have the correct replacement brackets for your specific RV awning model.
- Disconnect the power source to prevent any accidents while working on the brackets.
- Use appropriate safety gear such as gloves and goggles to protect yourself during the replacement process.
- Follow the manufacturer’s instructions carefully for removing the old brackets and installing the new ones.
- Have a second person assist you, if possible, to make the replacement process smoother and safer.
- Inspect other components of the awning while replacing brackets to ensure everything is in good condition.
- Apply lubricant to moving parts of the awning mechanism after replacing brackets to maintain smooth operation.
- Test the functionality of the awning several times after bracket replacement to check for proper installation.
- Keep all necessary tools handy before starting the bracket replacement to avoid delays or interruptions.
Ensure you have the correct replacement brackets for your specific RV awning model.
To ensure a successful RV awning bracket replacement, it is crucial to have the correct replacement brackets that are specifically designed for your RV awning model. Using the wrong brackets can lead to improper fitment, potential damage to your awning system, and compromised functionality. By selecting the right replacement brackets tailored to your RV’s make and model, you can guarantee a secure and seamless installation process, ultimately enhancing the performance and longevity of your awning system.
Disconnect the power source to prevent any accidents while working on the brackets.
When replacing RV awning brackets, it is crucial to disconnect the power source to prevent any accidents while working on the brackets. By ensuring that the power is turned off, you reduce the risk of electrical shocks or mishaps during the replacement process. Safety should always be a top priority when undertaking any maintenance or repair tasks on your RV, and taking this simple precaution can help you work on the brackets with peace of mind.
Use appropriate safety gear such as gloves and goggles to protect yourself during the replacement process.
During the RV awning bracket replacement process, it is crucial to prioritize safety by using appropriate protective gear such as gloves and goggles. These safety measures help safeguard you from potential injuries while handling tools and working on the awning brackets. Gloves provide protection against sharp edges and potential abrasions, while goggles shield your eyes from debris or small particles that may dislodge during the replacement process. By wearing the proper safety gear, you can ensure a safe and smooth replacement of your RV awning brackets without compromising your well-being.
Follow the manufacturer’s instructions carefully for removing the old brackets and installing the new ones.
Following the manufacturer’s instructions carefully is crucial when replacing RV awning brackets. By adhering to the guidelines provided by the manufacturer, you ensure that the removal of old brackets and installation of new ones is done correctly and efficiently. These instructions are tailored to your specific RV model, guaranteeing a precise fit and optimal functionality of the awning system. Taking the time to follow these instructions step by step will help you complete the replacement process with ease and confidence, ultimately enhancing your overall camping experience.
Have a second person assist you, if possible, to make the replacement process smoother and safer.
Having a second person assist you during the RV awning bracket replacement process can significantly improve the overall experience. With an extra set of hands, one person can hold the awning in place while the other focuses on removing and replacing the brackets. This teamwork not only makes the process smoother and more efficient but also enhances safety by reducing the risk of accidents or damage to the awning. Working together ensures that the replacement is done correctly and with minimal stress, allowing you to enjoy your newly upgraded RV awning system with peace of mind.
Inspect other components of the awning while replacing brackets to ensure everything is in good condition.
When replacing RV awning brackets, it is crucial to inspect other components of the awning system to guarantee that everything is in optimal condition. By taking the time to assess the fabric, arms, and mechanisms of the awning while replacing brackets, you can identify any potential issues or areas of concern. This proactive approach not only ensures that your awning functions smoothly but also helps prevent unexpected malfunctions during your outdoor adventures. Regular inspection and maintenance of all awning components contribute to a safer and more enjoyable camping experience overall.
Apply lubricant to moving parts of the awning mechanism after replacing brackets to maintain smooth operation.
To ensure the continued smooth operation of your RV awning after replacing the brackets, it is essential to apply lubricant to the moving parts of the awning mechanism. This simple maintenance step helps reduce friction and wear on the components, allowing your awning to extend and retract effortlessly. By regularly lubricating the moving parts, you can prolong the life of your awning system and enjoy uninterrupted shade and protection during your outdoor adventures.
Test the functionality of the awning several times after bracket replacement to check for proper installation.
After replacing the RV awning brackets, it is crucial to test the functionality of the awning several times to ensure proper installation. By extending and retracting the awning multiple times, you can verify that the new brackets are securely in place and that the awning operates smoothly without any issues. Testing the functionality of the awning post-replacement is a critical step to guarantee that your outdoor shelter is secure, stable, and ready to provide shade and protection during your RV adventures.
Keep all necessary tools handy before starting the bracket replacement to avoid delays or interruptions.
When replacing RV awning brackets, it is crucial to keep all necessary tools handy before beginning the process. Having the required tools readily available ensures a smooth and efficient replacement without delays or interruptions. By being prepared with the right tools, such as screwdrivers, wrenches, and any specific hardware needed for your RV model, you can tackle the bracket replacement task effectively and complete it in a timely manner. This proactive approach helps streamline the process and minimizes any potential setbacks, allowing you to restore your awning’s functionality promptly for uninterrupted enjoyment during your outdoor adventures.
Related Posts

Mastering RV Hygiene: The Essential Guide to Gray Water Drain Hose Maintenance
The Importance of RV Gray Water Drain Hose When it…
Explore Exciting Deals: Super C RV for Sale Now!
Super C RV for Sale The Ultimate Adventure: Super C…
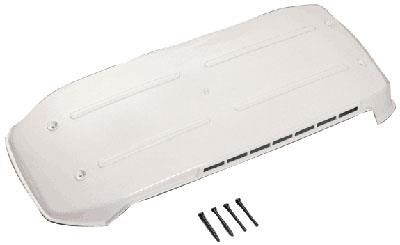
Maximize Your RV Fridge’s Efficiency with a Dometic Fridge Vent Cover
The Importance of a Dometic Fridge Vent Cover for Your…